.
Fifteen years ago, today, I sat at home, in the middle of the week, with an unexpected midweek holiday at a job I had just started two days prior. On a whim, I decided to start my cooking blog: The Singing Chef.
.
I haven’t blogged over at the blog in recent times, and every year I hope to change that. Maybe this will be the year.
.
Whether I’ve blogged regularly or not, I continue to remain grateful for everything this space has given me. The blog itself and the linked Facebook page as well as the @instagram page have brought me numerous friendships, a stream of opportunities and endless joy.
.
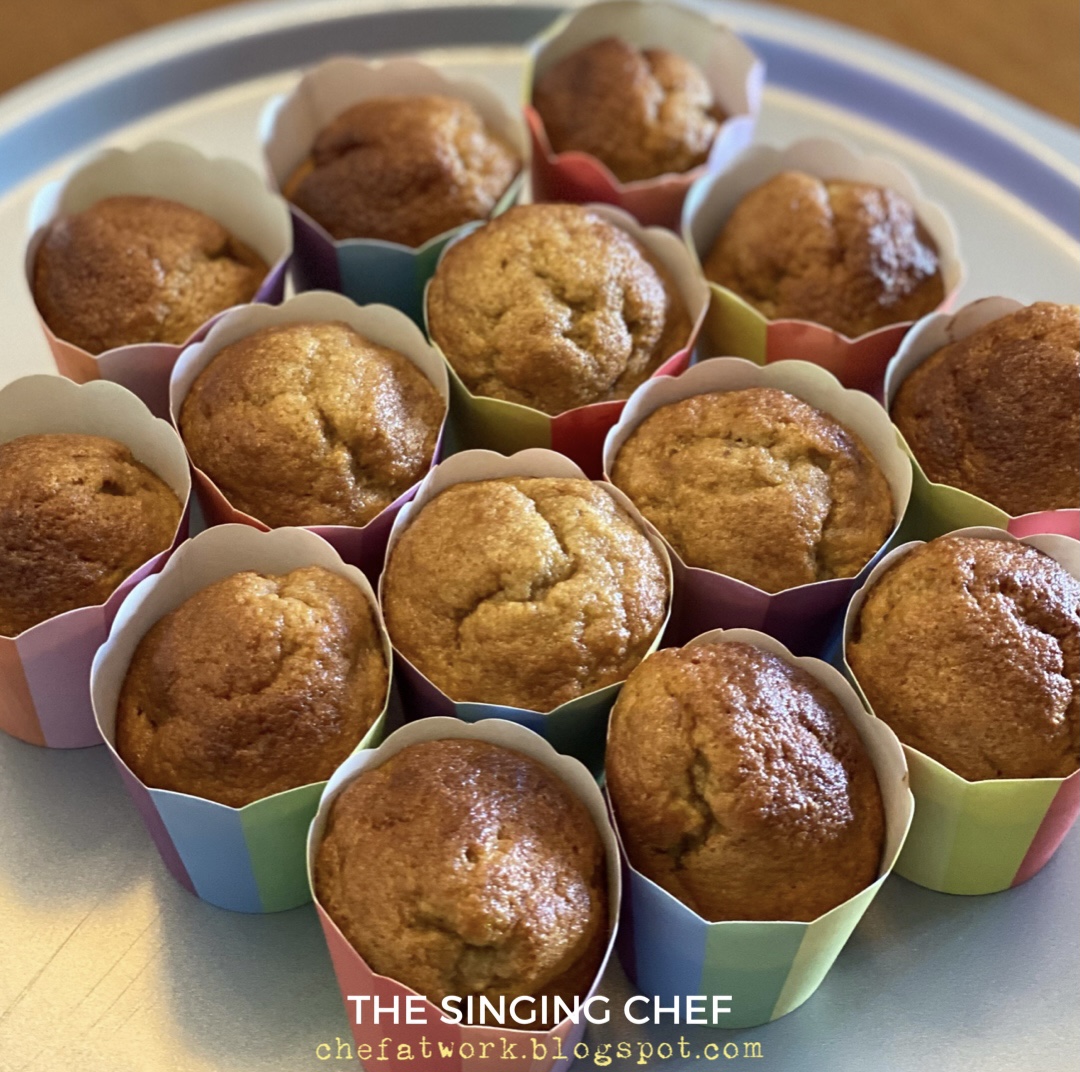
Here’s a quick and easy recipe to celebrate these 15 years.
.
1 cup Flour
2 1/2 tbsp Cocoa Powder
1 1/2 tsp Baking Powder
1 tsp Instant Coffee Powder
1/2 cup Sugar
a Pinch Salt
1/4 cup Butter
1/2 cup Ricotta Cheese
1/4 cup Milk
1/2 tsp Vanilla
Butterscotch Chips
.
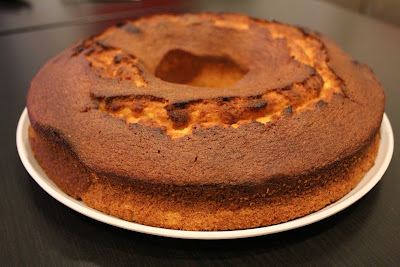
Line a cupcake tin with liners. Alternatively, prepare a 10" ring or 8" round cake tin by greasing and flouring it.
.
Preheat the oven to 350F (180C).
Beat the Ricotta, Butter, Milk, Sugar and Vanilla together. Sift the remaining dry ingredients together and add them to the liquid mixture. Fold in the Butterscotch Chips.
.
Pour the batter into the prepared tin and bake for 15 minutes for the cupcakes and 30 minutes for the cake or until a knife inserted into the cake comes out clean.
.
I hope you try this recipe out. I’d love to see your creations.
.
Once again, happy birthday to the Singing Chef. Thank you for everything you’ve come to be.
.
#raaga #thesingingchefraaga #happybirthday #egglesscakerecipe #egglesschocolatecake #blogversary